The process of building a landscaping berm
What is a Berm in Landscaping?
A landscape berm refers to a mound of soil constructed for various purposes. This raised area can be made from soil, sand, or rocks, and is generally shaped to blend naturally with the environment. Berms are often designed to create elevation changes in flat landscapes, helping to add visual interest. A landscape berm is also great for managing water flow and runoff -more on that in just a moment.
Privacy and Noise Reduction
Berms offer several benefits when included in a landscape design. They can enhance privacy by blocking views from neighboring properties or roads. This is particularly useful in suburban areas where homes may be closely spaced.
Another significant benefit is noise reduction. A berm can act as a sound barrier, reducing noise pollution from traffic or other sources. Additionally, berms can serve as windbreaks, protecting gardens and outdoor living spaces from strong winds.
Common Uses in Landscaping
Aesthetically Pleasing
In landscape design, a landscape berm is commonly used to add visual interest to flat yards and gardens. By creating undulating terrain, they make a garden appear more dynamic. This technique is particularly effective in large, open spaces that might otherwise seem monotonous.
Drainage Management
Berms are also used to manage water runoff, especially in areas prone to erosion. By creating a large mound, you are able to properly direct water flow. This can help control flooding and water pooling. As a result, with proper berm design, you can prevent soil erosion around plants and structures.
Designing Your Berm
Design Considerations
Deciding the primary purpose beforehand is crucial. This will guide the shape, height, and placement. Consider using a gentle slope to prevent erosion and ensure stability. Multiple peaks can also add a more natural look.
Choosing the Right Location
Selecting the correct location is essential for berm success. Typically, berms are placed in areas that need drainage control, added privacy, or aesthetic enhancement.
Think about natural land contours and existing vegetation. Placing the berm in a naturally low area can help manage water flow effectively. You’ll obviously want to ensure it doesn’t block important views or pathways.
Determining Shape and Height
The shape and height of your berm should match its function. If it’s for drainage, the peak should be higher with gentle slopes to direct water flow. More gentle slopes will prevent water from flowing too quickly which can lead to erosion issues.
Aesthetically, a flowing, curved shape looks more natural than straight lines. The height depends on its purpose, usually ranging from 18 inches to a few feet. Taller berms might need reinforcement with grasses or rocks to prevent erosion.
Selecting Suitable Soil and Fill Materials
The stability and health of your berm rely on the materials used. Start with a base layer of rubble or gravel to promote drainage. Water can easily flow through small gravel – it can’t easily penetrate the hard clay soil that is common in many of Denver’s Front Range communities.
Add fill dirt to construct the bulk of the berm. Finally, spread a layer of topsoil for planting. Ensure the topsoil is at least 6 to 12 inches deep to support plant roots. Mixing the soil with organic matter can improve its quality and structure.
Constructing a Berm
Building a berm is best left to a qualified landscaping contractor. But if you’re a do-it-yourselfer and don’t mind repeated trips to Lowe’s or Home Depot, this section provides instructions for what is involved in building a berm on your own.
Constructing a berm involves selecting the right tools, preparing the site, creating a solid base, shaping the structure, and ensuring stability.
Tools and Materials Needed
To construct a berm, essential tools include a shovel, spade, wheelbarrow, and a bow rake. You will also need materials like dirt, clayey soil (which contains clay, silt and humus), topsoil, and possibly boulders for stability.
Tamping tools are useful for compacting the soil and eliminating air pockets. Having some flour or stakes for marking the shape can also be helpful. Gathering proper tools and materials is crucial for the berm construction process.
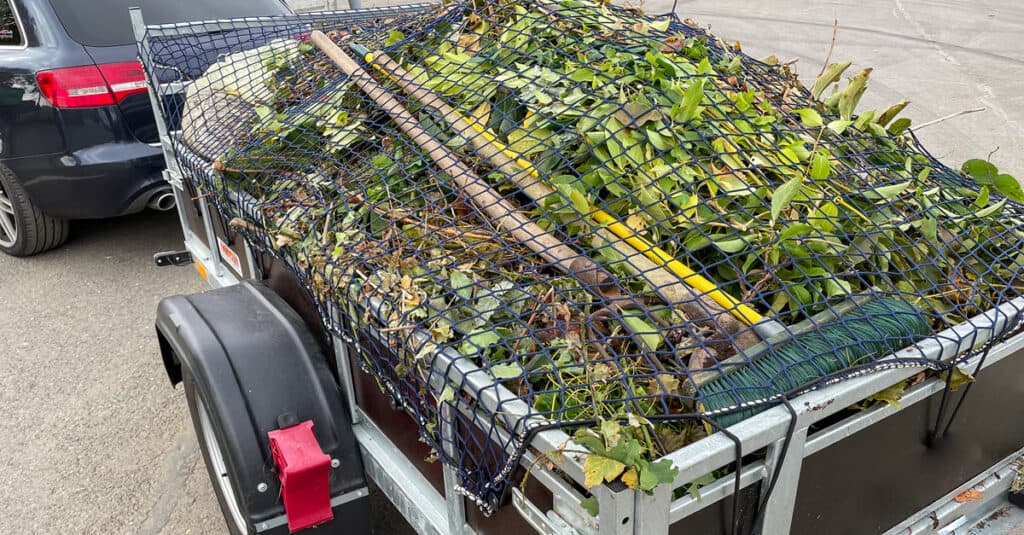
Preparing the Site
First, choose an area where the berm will be constructed. Clear the site of any debris, rocks, or plants that might interfere with the process.
Use stakes and flour to mark the shape and size of the berm. Ensure the site allows for proper water drainage, avoiding places where water might pool.
Remove a layer of grass or topsoil to expose the ground below. Proper site preparation sets the stage for a stable and effective berm.
Building the Base and Slope
Begin by creating the base of the berm with a mixture of dirt and clayey soil. The base should be the widest part and should gradually narrow as you build up.
Using a wheelbarrow, transport the soil to the site and start forming the base.
Tamping the soil as you go helps to compact it and eliminate air pockets. Ensure the center of the berm is the tallest point, creating a gentle slope on all sides. The slope ensures proper drainage and a natural look.
Shaping the Berm
Once the base and slope are established, begin shaping the berm to the desired contour.
Using a shovel and spade, refine the shape, and add boulders if necessary for both aesthetic and structural support.
A bow rake helps to smooth out the surface and distribute the soil evenly. It’s important to keep the peaks rounded and the slopes gentle to avoid erosion and maintain stability.
Finalizing Structure and Stability
Finish the berm by covering it with a layer of topsoil, which helps with plant growth and erosion control.
Smooth the topsoil evenly with a rake, ensuring the center remains tallest for proper slope.
Tamping the final layer once more secures the structure. Optional plantings can help root the berm in place and add to its visual appeal.
Check for any remaining air pockets or loose soil that might need additional tamping or soil. This final step ensures the berm is both stable and long-lasting. You don’t want your berm to settle and “sink” in areas as this could present drainage problems.
Planting on Berms
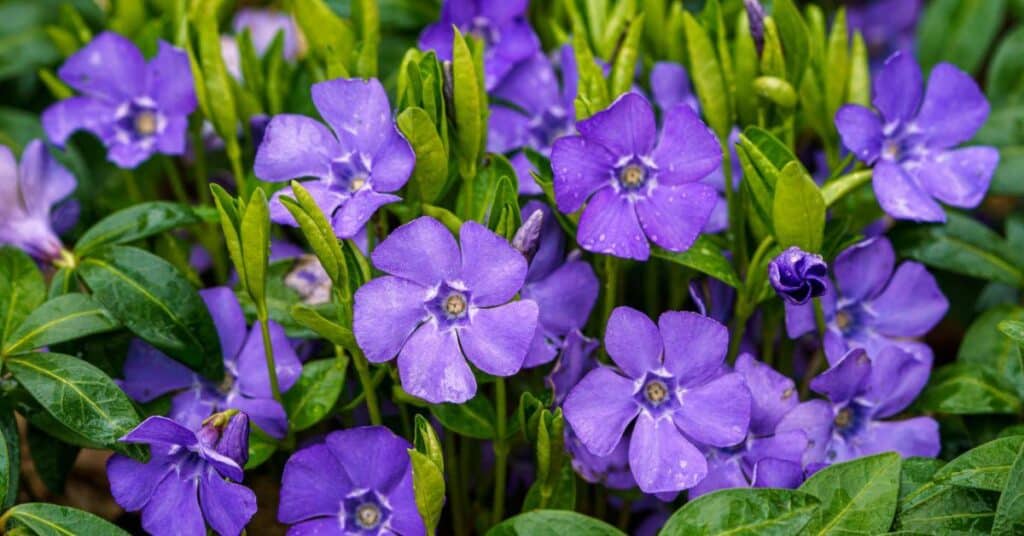
Berms are an Ideal Location to Plant Native Colorado Plants and Grasses
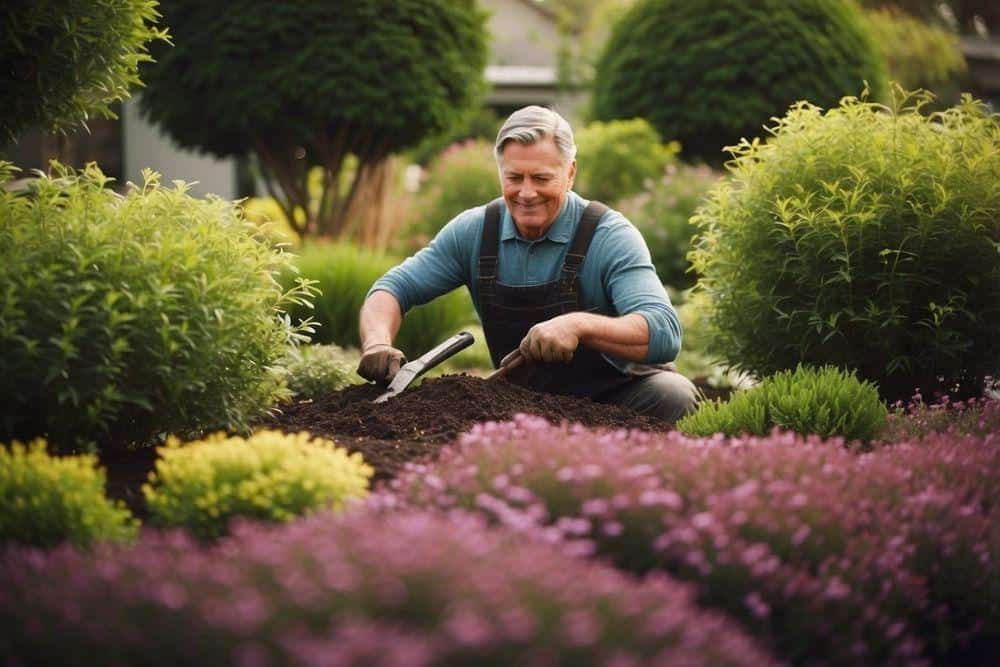
Planting Techniques and Arrangement
Proper planting techniques ensure the success of your berm. Begin by applying a layer of topsoil and tamping it down. Rake it evenly and water it to remove air pockets.
Then, plant in stages: start with trees, followed by shrubs, and then groundcover or grasses.
It’s important to place taller plants like trees on the peak and graduated shorter plants towards the base. This creates a natural look and helps with water runoff. Regularly adding mulch and properly spacing plants prevent overcrowding and ensures healthy growth.
Using sod can quickly cover a berm, but it’s essential to ensure it gets adequate water. Regular maintenance, including watering, mulching, and pruning, will keep your berm thriving.

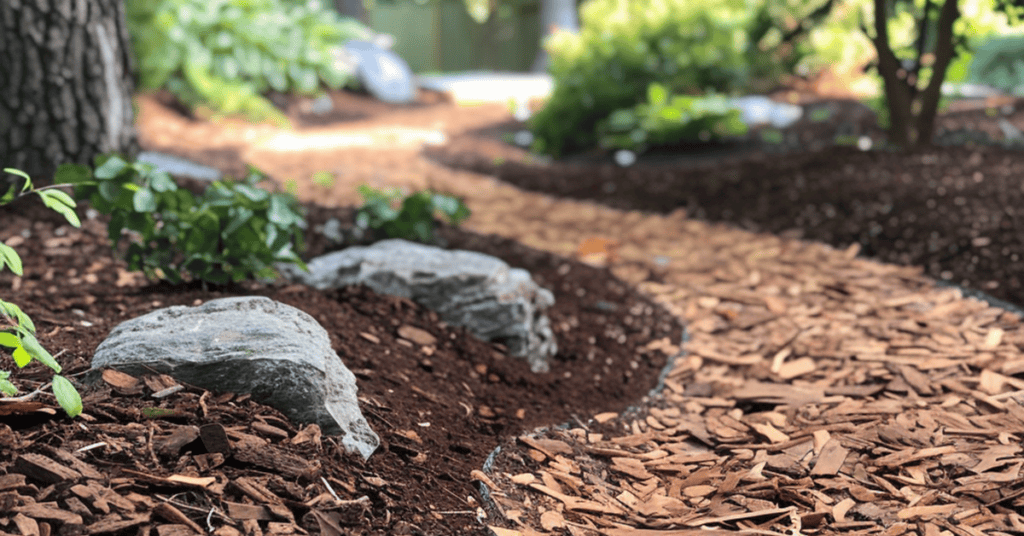
Mulch Helps to Retain Moisture and Prevent Erosion
Maintaining Your Berm
Proper care of a berm ensures that it remains functional and attractive. Regularly inspect and manage erosion, water runoff, drainage, and the overall health of your plants.
Erosion Control Measures
Erosion can be a major issue for berms. To manage soil movement, consider using jute netting. This natural fiber blanket stabilizes the soil, allowing plants to take root.
Another method is to plant ground cover plants. Their roots hold soil in place, reducing the risk of erosion. For steep berms, place small sections of retaining walls at intervals. This helps to break the slope and catch any loose soil.
Mulch can also be a helpful barrier. It not only prevents erosion but retains soil moisture within your berm. Apply a thick layer around plants to protect the soil from wind and rain.
Watering and Drainage Tips
Effective watering prevents both erosion and plant stress. Watering should be deep and infrequent. This encourages deeper root growth, which stabilizes the soil.
Consider the drainage patterns of your berm. Ensure the water doesn’t pool at the base, which can cause root rot. Installing drainage pipes or channels may help direct water away from trouble spots.
Using a soaker hose ensures an even distribution of water. Even better is a drip irrigation installation. This method reduces runoff and helps the soil absorb moisture more effectively.
Sustainable Practices in Berm Landscaping
Utilizing Native Plants and Materials
Choosing native plants is crucial for sustainable berm landscaping. Native plants are well-adapted to the local semi-arid climate here on the Front Range of Colorado. Native and adapted plants require less water and maintenance. They also promote local biodiversity by providing habitat for native wildlife.
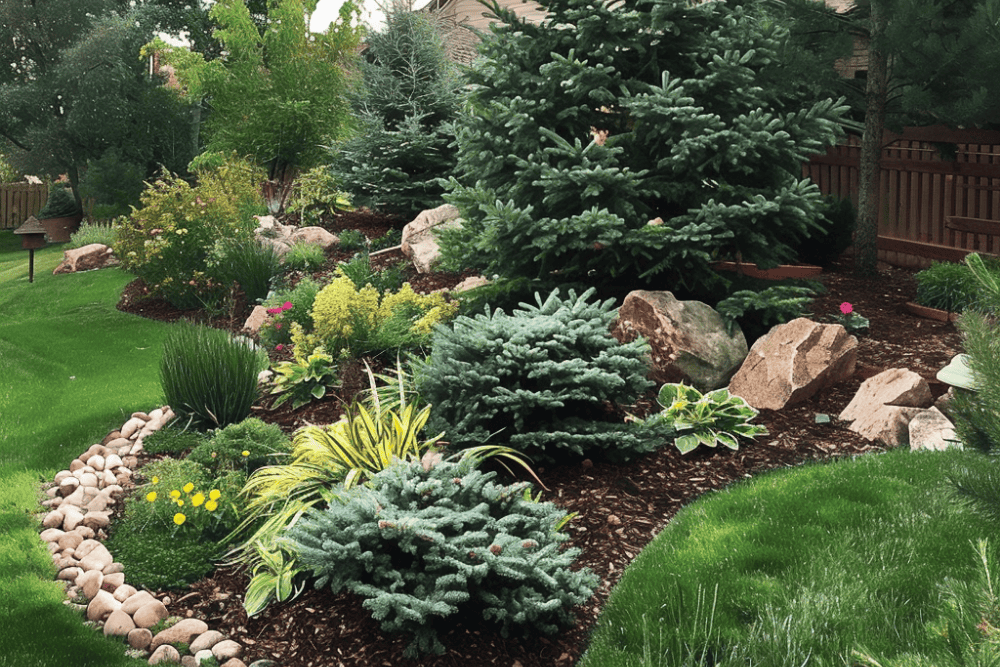
Trees Like Blue Spruce Do Well in Colorado’s Climate
Native plants thrive in well-draining soil, which is essential for the stability and health of the berm. Regular mulching with local organic materials helps retain moisture and improves soil quality, making it easier for native plants to establish and grow.
The types of plants and trees that will do well on top of a berm will be similar to the Colorado Plants and Shrubs for Retaining Walls that was highlighted in a previous article on our site. You can also check out the following guides which have shrub, tree, and plant recommendations for Colorado Residents: