A Closer Look at the Different Types of Stone Retaining Walls
Retaining walls are an essential landscaping element in areas along Denver’s Front Range that have sloped yards. A retaining wall system supports soil on one side, and creates level areas on slopes. They are essential for preventing erosion and managing landscapes.
Retaining Wall Basics
Retaining walls hold back soil, preventing it from sliding. They create stable, level areas on slopes. Engineers design these walls to withstand pressure from soil.
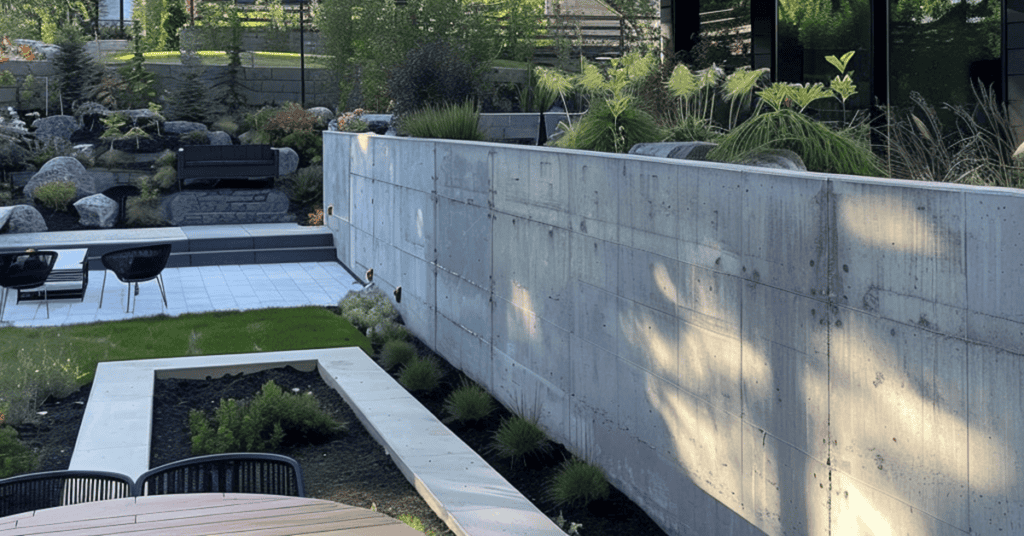
Materials vary: stone, concrete, wood, and brick. Each has benefits and drawbacks. Stone walls give a natural look. Concrete offers strength and durability.
A solid foundation is crucial. It keeps the wall from shifting or collapsing. Drainage is also key. Water buildup can weaken the wall. Crushed stone or gravel bases help with this.
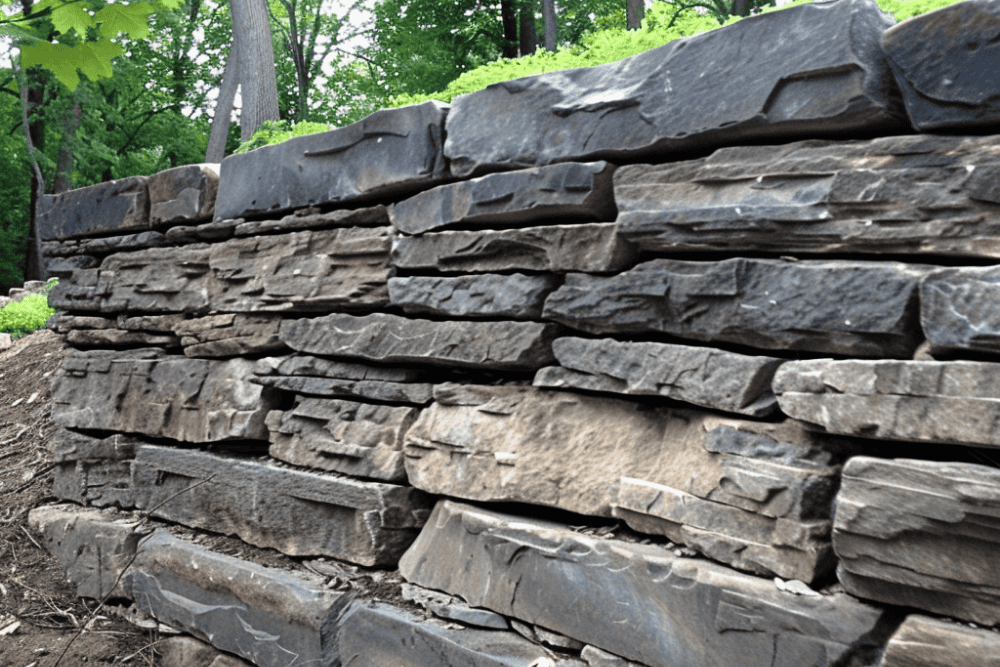
A Stacked Stone Retaining Wall in a Residential Backyard
Functions and Benefits
Retaining walls protect against erosion. They keep soil where you want it. This is crucial in hilly areas. Walls also create usable space on slopes.
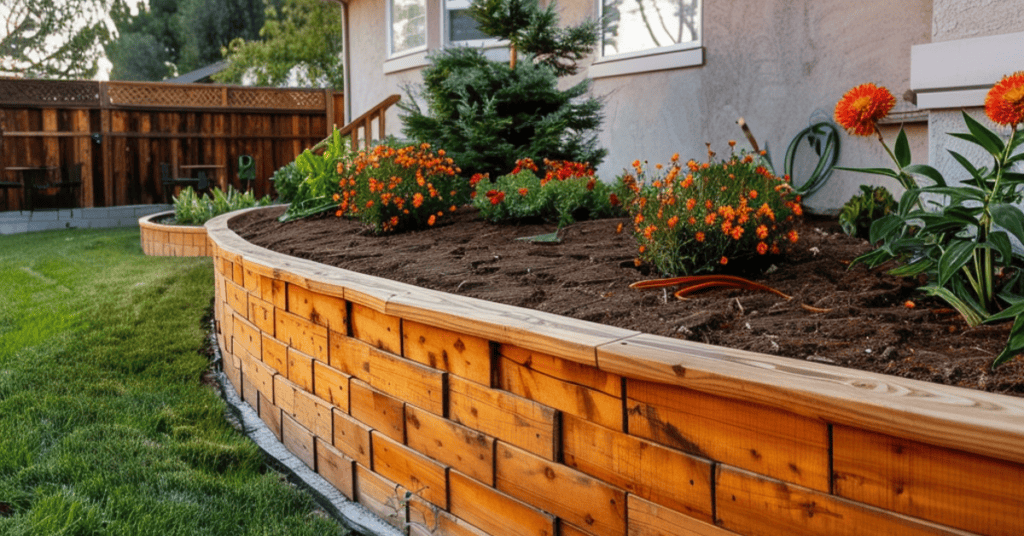
They enhance your landscape’s appearance. Retaining walls can act as seating, planters, or decorative features. They boost property value through function and beauty.
Additionally, walls support structures like roads or buildings. They prevent landslides and keep soil stable. This safety aspect is vital for urban planning.
Types of Retaining Walls
There are many types of retaining walls: gravity, cantilevered, anchored, and more. Gravity walls use their weight to hold soil. Stone walls often fall into this category.
Cantilevered walls have an L-shape. They use less material but support more weight. They need steel reinforcement inside concrete.
Anchored walls use cables or other anchors. These are good for tall walls with heavy loads. Anchors are driven deep into the soil for stability.
Sheet pile walls are common near water. They use steel or vinyl sheets driven into the ground.
Retaining Wall Blocks
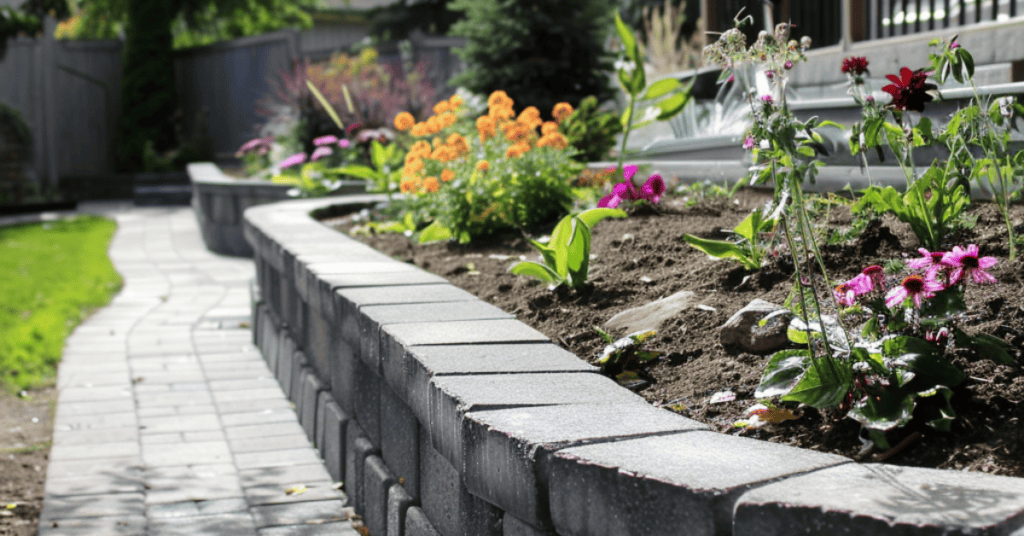
Many retaining walls are constructed with concrete retaining wall blocks. Many manufacturers offer interlocking concrete wall blocks that are (relatively) easily assembled by stacking them and connecting them to each other. These retaining wall blocks are considerably easier to work with than stone as they all come in a uniform shape and fit together easily.
As we’ll get to in a minute, when it comes to retaining wall construction, stacked stone can be considerably more challenging to build with due to the varying shapes and sizes of wall stone being used.
Characteristics of Natural Stone Retaining Walls
Stone retaining walls provide a natural and timeless look. They use locally sourced stone for eco-friendly construction. Mortared or dry-laid methods are common.
- Mortared wall – use cement to bond stones together. This adds strength and stability.
- Dry Stack Retaining Wall – doesn’t use an adhesive like mortar and instead relies on skilled placement and gravity. They allow water to seep through.
Proper drainage is essential. Stone walls usually have a crushed stone base. This prevents water from weakening the structure.
Aside from function, stone walls add character to landscapes. They blend well with nature, enhancing the visual appeal of your property.
A natural stone retaining wall is extremely durable. They resist weathering and need minimal maintenance. This makes them a long-term investment for your property.
Planning and Design
When planning and designing a stone retaining wall, you need to think about the location, size, materials, and permits. These aspects will ensure your wall is both functional and durable.
Assessing Location and Conditions
First, check the location where you plan to build a retaining wall. Look at the landscape. Determine the soil type and note any slopes. These factors affect the stability of your wall. Poor soil, like clay, may need extra support. Identify any natural springs or water runoff areas. These conditions can influence your drainage system plans. Consider how your wall will impact nearby structures or vegetation. Proper location assessment prevents future issues.
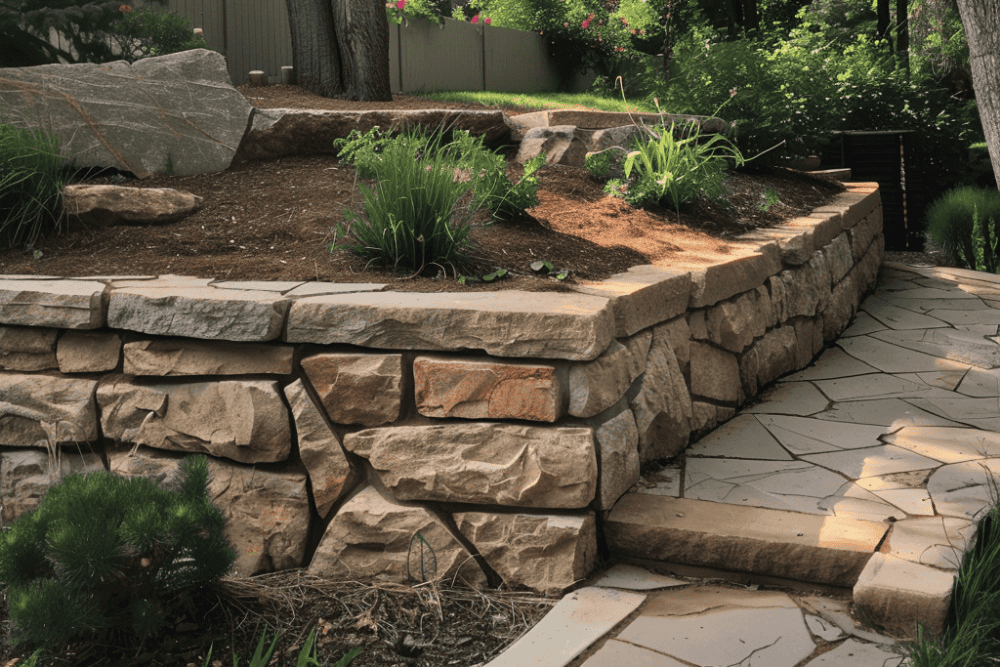
Natural Stone Retaining Wall Next to a Flagstone Walkway
Calculating Size and Height
Next, figure out the size and height of your wall. Base these on the slope of the land and the purpose of the wall. For each foot in height, plan a base that’s one foot wide. Use standard measurements to ensure stability. You don’t want your wall to collapse. Calculate the volume of materials needed. High walls need stronger foundations and more support. Measure twice to avoid mistakes in your build.
Choosing Materials
For your rock wall material, choose materials that fit your needs and budget. Stone retaining wall material options include limestone, flint, and even boulders. Each has pros and cons. For example, limestone is easier to work with and less expensive than large boulders.
Legal Aspects and Permits
As with any major landscaping project, be sure to check local regulations for your city or county along the Front Range. There are generally height restrictions – that if exceeded – will require a permit from your municipality.
Foundation and Fabrication
Creating a strong foundation and using proper building methods ensures the stability and durability of your stone retaining wall. Key steps include excavating a trench, preparing a solid base, installing the first course of stones, and using reliable construction techniques.
Excavation Process
Begin by excavating a trench where the wall will stand. The trench should be deep enough to support the weight of the wall. A good rule is to dig 6-8 inches deep for stability. Make the trench wide enough to allow room for a solid base.
Removing all loose dirt and vegetation ensures the trench has a firm, compact base. Use a shovel and a mechanical compactor to flatten the ground. This step prevents the wall from shifting over time.
Laying the Foundation
The next step involves laying the foundation using crushed stone. Spread a layer of gravel evenly across the bottom of the trench. Use gravel that has a mix of sizes, such as 3/4 inch to 1/2 inch.
Compact the gravel with a mechanical compactor. Lay the gravel in 2-inch layers, compacting each layer before adding the next. This process creates a level, stable foundation for your wall.
First Course Installation
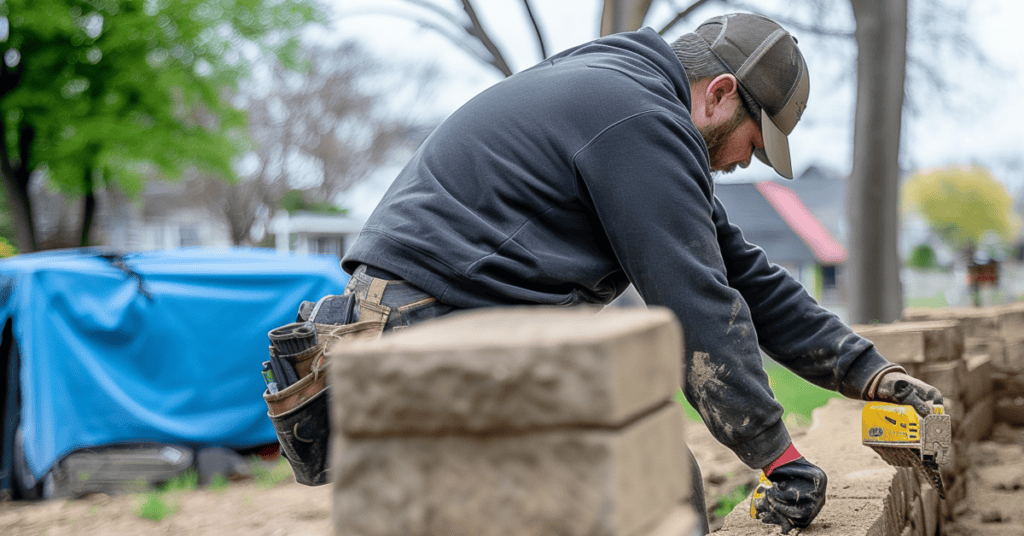
Place the first course of stones directly onto the compacted gravel base. It’s crucial to ensure these stones are level, as they provide the base for the rest of the wall. Use a level tool to check each stone’s position.
Start at one end and work your way to the other. Use a rubber mallet to tap the stones into place. This step helps to seat the stones firmly in the gravel.
Building a stone retaining wall
Construction Techniques
As you build the wall upwards, stagger the joints between stones to enhance stability. Avoid lining up vertical joints. Use smaller stones to fill gaps and add stability. For dry-stack walls, use no mortar; rely on stone placement and weight.
Regularly check the alignment and level of the wall. Adjust stones as needed. For extra stability, install drainage behind the wall using gravel and perforated pipe. This method helps prevent water pressure build-up.
By following these steps, you can build a strong and stable stone retaining wall that lasts for years. Focus on proper excavation and foundation laying to ensure a lasting structure.
Structural Integrity
You need the right methods to ensure the wall holds up against pressure and moisture in order to prevent wall failure.
Drainage Implementation
Drainage is critical. Without proper drainage, water can build up behind the wall. This creates hydrostatic pressure, which can damage the wall. You should install drainage gravel behind the stones. Use perforated pipes to guide water away from the wall.
Proper drainage helps avoid water accumulation. This reduces the risk of the wall shifting or cracking. Don’t forget to ensure good drainage from the base to the top of the wall.
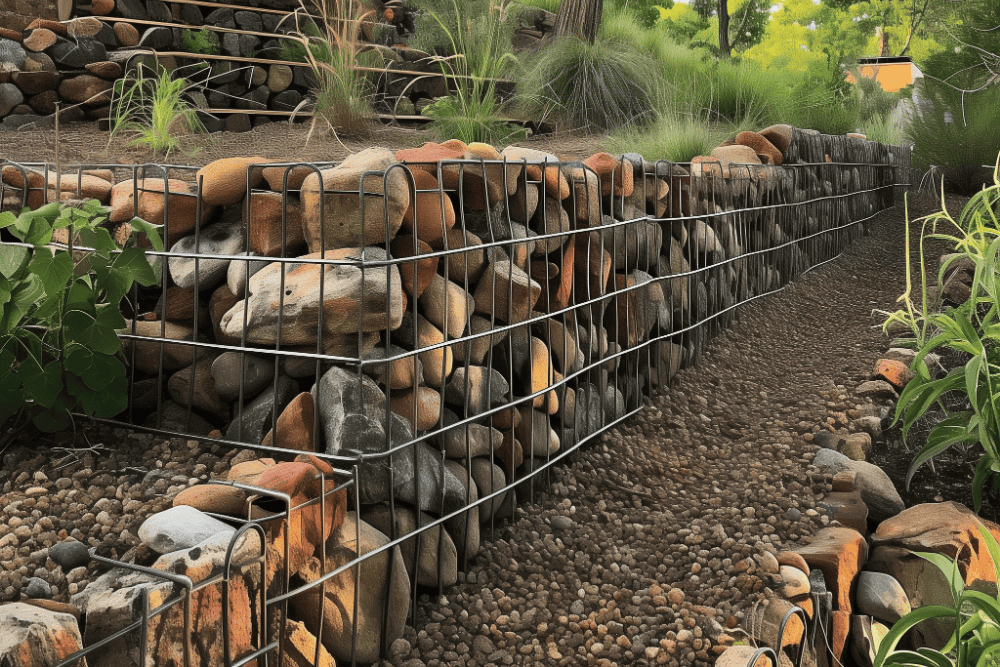
While not a true freestanding retaining wall, a Gabion retaining wall is Comprised of Wire Baskets Filled with Stones
Ensuring Wall Stability
Each stone in your wall must fit well. Make sure that each one has a solid connection with the stones around it. Friction and gravity hold the stones together. These forces help the wall resist shifting and settling over time.
Use a staggered pattern when stacking stones. Don’t stack them in vertical lines. A staggered pattern helps distribute the load more evenly, making the wall more stable. Capstones, the stones on top, need to be secure too, as they protect lower stones from weather and erosion.
Backfilling Techniques
Backfilling supports the wall and aids in drainage. The right backfill material is very important. Use gravel or crushed stone for good drainage and compact it well.
Lay a layer of soil or sand behind the gravel. This prevents soil from clogging the drainage gravel. Compact the backfill in layers. This prevents future settling, which could harm wall stability. Make sure the final layer slopes away from the wall. This helps channel water away and keeps the wall dry.
For additional strength, include a geotextile fabric between the soil and backfill. This keeps the soil from mixing with the gravel, ensuring long-lasting drainage.

