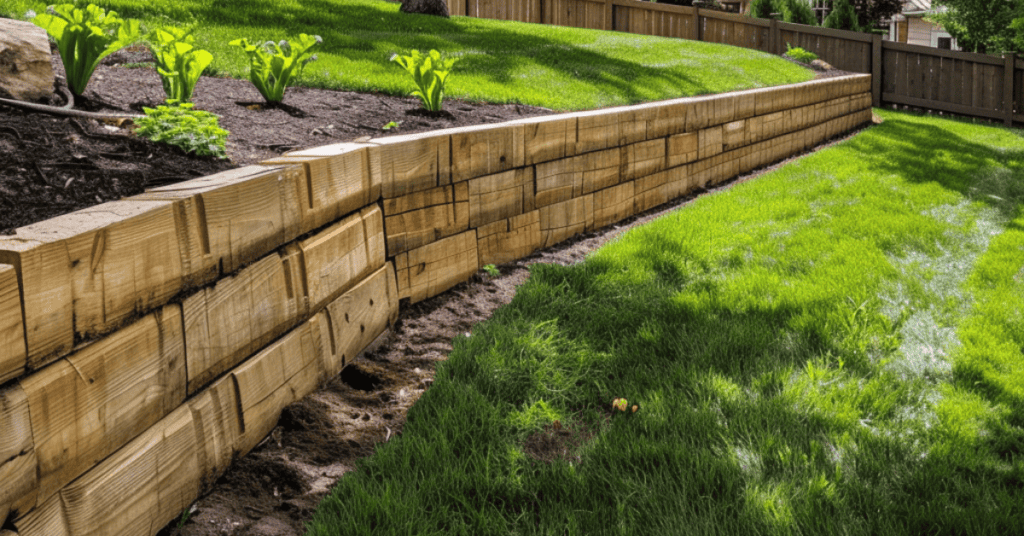
Add Elegant Contours to Planting Areas
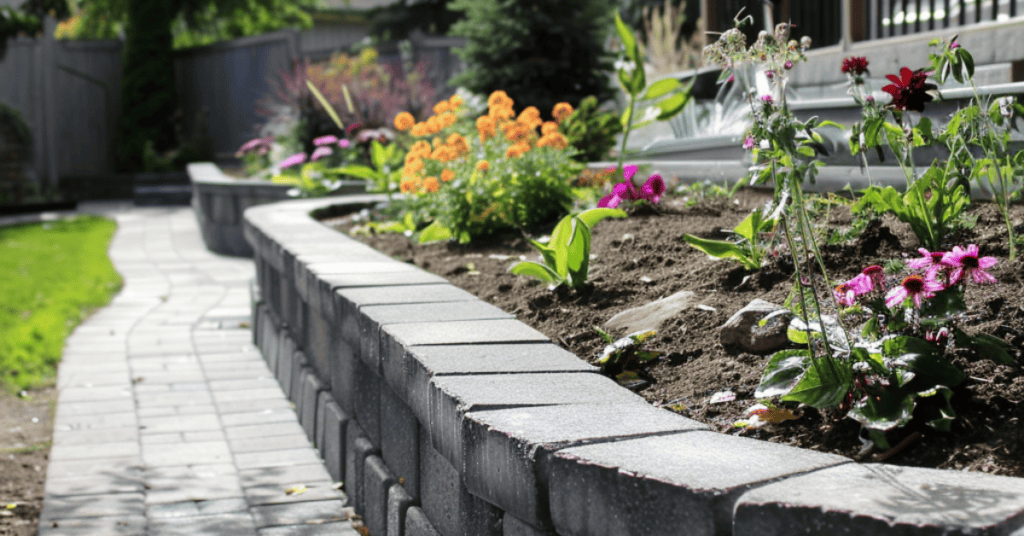
Curved retaining walls can add a unique and visually appealing element to the landscape design, creating a more organic and natural look compared to straight lines. But they aren’t just aesthetically pleasing, they’re also highly functional in certain situations. A curved retaining wall can be more effective in certain landscaping situations, such as when following the natural contours of the land or when creating terraces on a sloped property.
As with all retaining walls, curved wood retaining walls provide similar benefits. They help to manage soil erosion, and a curved design can be particularly effective in directing water flow and reducing the speed of runoff. A curved design may even provide better structural integrity and distribute pressure more evenly, which can be beneficial in retaining wall construction.
They’ll also reclaim more usable space in your yard by forming terraces or garden beds that follow the natural shape of the terrain. They offer a distinctive and customized look that reflects your overall landscaping theme.
While not wood – this video shows how to build retaining walls with curves (from allan block)
Design and Planning for Curved Wood Retaining Walls
You’ll need to assess your landscape, consider the specific design needs of a curved wall, and choose the right materials. This section will guide you through these steps to ensure a successful project.
Ideally, you’ll hire a competent retaining wall contractor as building a retaining wall can be expensive, labor intensive, and requires a great deal of experience, along with proper permitting in some cases. Here are the steps that a contractor will go through in designing your retaining wall.
Assessing Landscape and Slope
First, based on experience, the contractor will identify areas where you need support or aesthetic enhancement. They’ll examine the slope’s steepness. For steeper slopes and higher walls, you may need a stronger foundation. The contractor will likely Incorporate terracing as part of the retaining wall design if your slope is very steep. The contractor will measure the length and height required for your retaining wall and will use these measurements to determine the curvature.
The soil type will also be analyzed. Loose or sandy soils may need special considerations. Plan for drainage. Proper drainage prevents water buildup that can weaken the wall. You’ll need to be able to move water away from the wall in many situations – and this typically involves the installation of a french drain as part of your new retaining wall system.
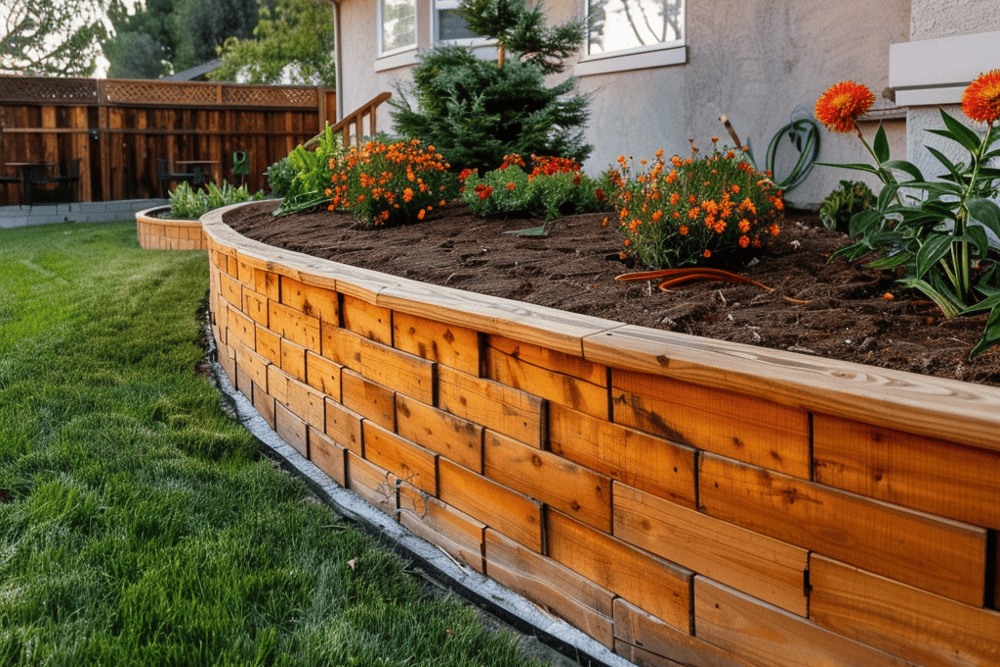
Curved Wood Retaining Walls are Able to Mimic the Contour of Your Yard for an Elegant Look
Choosing The Type of Wood for Your Wall
As part of the process, you’ll work with your contractor to select quality timber for your wood wall. Common wall material choices include treated wood, redwood, or cedar. These all do a pretty good job of resisting rot and pests.
In addition to the type of timber you’ll want to select pressure treated wood for its longevity and lower maintenance requirements. Your contractor will likely use 2-by-8 boards for the main structure. Your contractor will come up with the calculations to determine the total cost of your timber retaining wall based on your length and height requirements.
Note that while curved wood retaining walls can look fantastic, even the most durable, pest and water resistant woods will not perform as well as concrete retaining wall block or stone pavers. Wood will eventually break down, whereas stone and concrete block walls are more able to withstand the test of time.
Using a Sealant On Your Wall
To help extend the life of your retaining wall, you’ll want to talk to your contractor about adding a sealant or wood stain for extra protection. This can prevent your wall from deteriorating and keep it looking fresh.
Essential Hardware
Your contractor will use hardware – potentially 3-inch deck screws to secure the boards together. Deck screws offer the advantage of being able to resist rust and hold wood tightly. 16d nails may be used for additional reinforcement and to help keep the wood in place. Metal brackets and angle braces will likely be incorporated to provide added support. These help keep the wood stable, especially in curved sections.
Base Materials
Your contractor will also need to procure gravel and sand for the base of your wall. Gravel provides drainage and stability. Cement will typically also be used to secure wall posts in place. Cement will be poured into holes to sabilize the posts.
Preparing the Site
Before building a curved wood retaining wall, your contractor will need to prepare the site. This involves careful excavation and ensuring a solid foundation to support the wall’s structure.
Excavation and Leveling
Your contractor will start by marking the area where the wooden wall will be constructed. The site will be cleared of any vegetation, including grass and roots, to ensure a clean working area. Topsoil will be removed.
A trench along the marked line. The trench will be constructed wide enough to accommodate the width of your retaining wall and deep enough to provide stability. The depth of the trench depends on your wall’s height but should be at least 6 inches deep – and usually much deeper.
Use a shovel to level the bottom of the trench. Check for any high or low spots and adjust accordingly. You want a consistent, even surface to build upon. Use a level to confirm that the trench is completely flat.
Laying the Foundation
Once the trench is ready, your contractor will lay a solid foundation. They’ll start by laying down a base course of compacted gravel or crushed stone in the trench. This helps with drainage and provides stability.
Gravel or crushed stone evenly along the trench’s bottom and compacted using a tamper in order to make sure the gravel stays firmly in place. The contractor may then lay landscape fabric over the compacted gravel. This prevents soil from mixing with the gravel over time. The foundation must be solid and well-prepared to support the structure of your curved wood retaining wall.
Your contractor will then set wood posts into the gravel. Spacing will vary based on requirements, but they’ll be spaced a few feet apart. Cement will be poured into the post holes, while making sure it levels with the ground. This base provides a solid foundation for your wall.
Creating Curves and Levels
Constructing curves requires careful planning. After setting the base, your contractor can start building the first row of wood boards or blocks.
They’ll start the process on one end. Wood boards are attached to the posts, ensuring they follow the curve’s outline. For tighter curves, your contractor might need to cut the wood at angles to get a snug fit. This helps achieve the desired radius without gaps.
Transition pieces for smooth changes in direction. Layers are then added one row at a time. Each level will match the previous row to maintain stability. The wall is then reinforced with metal brackets at the joins. This adds extra strength to your structure.
Installing Drainage Systems
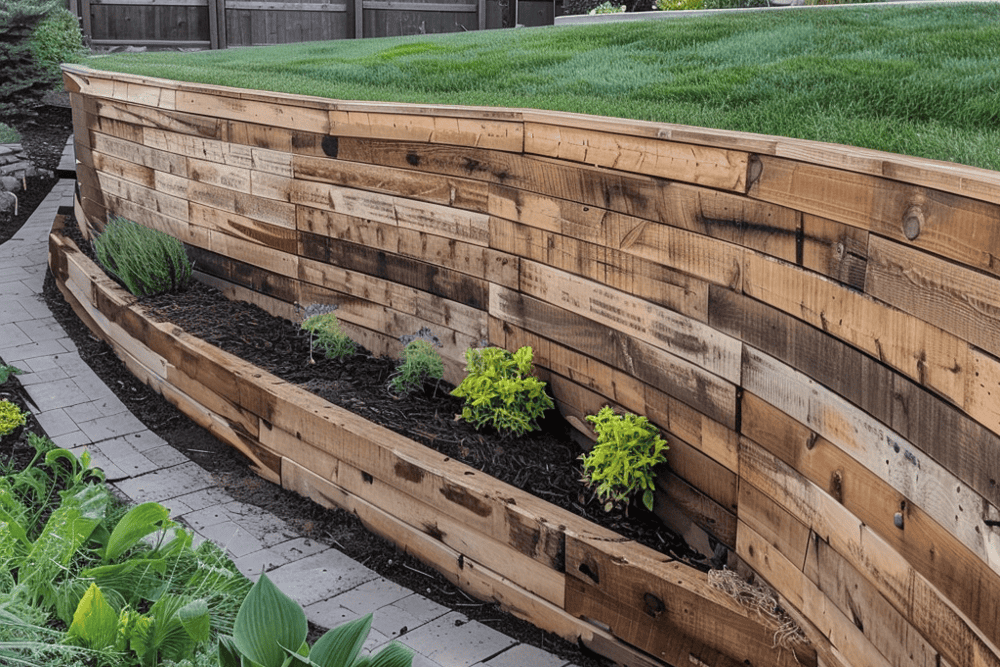
Larger Retaining Walls May Require a Drainage System – Like a French Drain – to Keep Water Pressure from Building Up Behind the Wooden Retaining Wall and Potentially Causing it to Fail
Proper drainage prevents water buildup behind the retaining wall, which can cause damage. So your contractor may install a french drain depending on your retaining wall requirements.
They will lay perforated pipe in the base trench, behind the first row of blocks or boards. This perforated pipe has a mesh sleeve covering it. This allows water to enter – but not dirt or other debris that can clog the pipe. This pipe is then covered with gravel, which helps filter out soil and allows water to flow through. The pipe will slope slightly behind the wall to ensure proper drainage to an appropriate outlet far away from the wall.
Backfilling and Compacting
Once the wall reaches the desired height, your contractor will begin the backfill process. They’ll use clean fill material, like gravel or crushed stone and begin backfilling in 6-inch layers. Each layer is tamped down to compact everything and prevent future settling. Note that your contractor should avoid using soil with high clay content as your backfill, as it doesn’t drain well.
Layering and compacting continues until the backfill reaches the top of the wall. A final row of boards is then installed to cap the retaining wall.
Finishing Touches
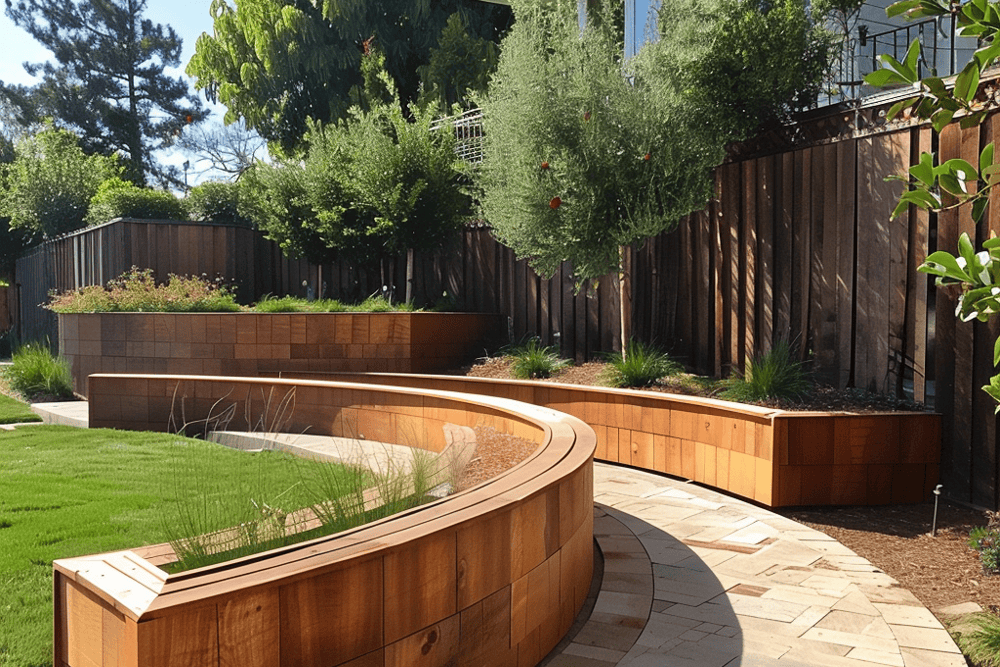
Your Wooden Walls Should be Coated to Protect Them From Water and UV Rays
Applying Protective Coatings
We already discussed the importance of sealing a wall to keep the wall from breaking down due to pests and excess water. Your contractor should provide an initial coat of sealant – like a wood preservative that is resistant to water and UV rays – to protect your wall. This coating will be applied with a brush or sprayer, covering all exposed surfaces.
Applying sealant to your wall should will be an ongoing process – usually every couple of years. Follow your contractor’s instructions – and either bring them back in for periodic wall coatings, or follow their instructions and do it yourself.
Wall Maintenance and Care
Regular checks and treatments ensure your curved wood retaining wall stays stable and free from damage. The following tips focus on inspections, repairs, and treatments to maintain your wall.
Regular Inspection
Inspecting your retaining wall regularly helps catch problems early. Look for signs of rot, cracks, or shifting wood. Check for soil erosion behind the wall, as it can weaken the structure.
Walk the length of the wall at least a few times per year. Look for any signs of bulging or leaning. If your wall shows these signs, you may need to address hydrostatic pressure. Water builds up behind the wall and can push against it. Making sure your wall has proper drainage – helps prevent this issue.
Inspect metal fasteners and anchors. Rust or wear can weaken them. Replace any damaged fasteners promptly. Keeping an eye on these areas helps keep your wall strong and secure.
Repair and Treatment
When you notice damage, act quickly. Call your contractor to replace any rotted or broken boards. Make sure that they continue to use pressure-treated wood for the best results. Boards should be secured with galvanized screws to prevent rust.
Technical and Regulatory Considerations
When building a curved wood retaining wall, you must account for specific height and size regulations, as well as adhere to building codes and permit requirements. Your contractor should be able to guide you through this process. Denver residents can use the link below to learn more about retaining wall requirements:
Retaining Wall Permitting for the City and County of Denver
Height and Size Regulations
Curved wood retaining walls must comply with height and size regulations to ensure safety and effectiveness. Many local authorities set maximum heights without engineering approval. For instance, residential retaining walls often have a height limit of 4 feet. Walls exceeding this height usually need structural analysis and possibly the oversight of a qualified engineer.
You also need to consider setback requirements, which determine the distance between the retaining wall and property lines or other structures. These setbacks help prevent soil erosion and ensure stability. Check local regulations to confirm the minimum setback distances for your project – but again, your contractor should be well versed in the requirements for your particular Front Range Community.
Building a curved wood retaining wall often requires adherence to local building codes. These codes ensure that the wall can sustain natural conditions, such as rain and seismic activity. Failure to comply can lead to legal problems and safety risks. Verify the specific codes relevant to your area before starting your project.
Frequently Asked Questions
Building a curved wood retaining wall involves specific steps, design ideas, and important structural considerations. Here are answers to common questions on this topic.
How does the curvature of a retaining wall impact its structural integrity?
Curved walls distribute pressure more evenly than straight walls. This often makes them stronger. Ensure proper support and anchoring to maintain stability.
What are innovative design ideas for a curved retaining wall in a garden landscape?
Use different wood types for a unique look. Plant cascading flowers or ivy on the wall. Add lighting for a dramatic effect at night. Consider integrating seating or shelves.
What are the best practices for ensuring proper drainage behind a curved retaining wall?
Remember to install drainage pipes behind the wall. Use crushed stone or gravel to allow water to escape. A well-drained wall prevents pressure buildup and increases the wall’s life.

